SharePoint 2013 workflows do not have a default action to change item or list permissions. With the help of the call http web service action I was able to create multiple REST calls that can interact with the permission. In this blog post describes multiple workflows for specific interactions involving permissions. The solutions where build on SharePoint Online (Office 365) using SharePoint 2013 workflows.
Breaking the inheritance on current item
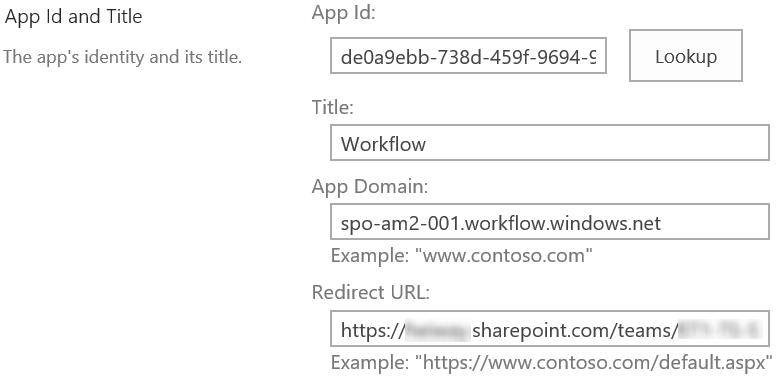
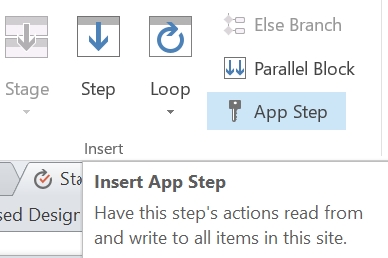
This workflow will break the inheritance of the item the workflow is running on. It is possible to change the regURL to break the inheritance of different items. If needed set the actions within an App step to make sure the workflow has the required permissions, see the blog post SharePoint 2013 Workflow: App step and App Permissions.
- Create a SharePoint 2013 workflow
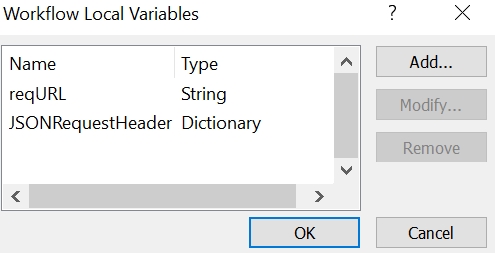
- Create a dictionary variable called JSONRequestHeader
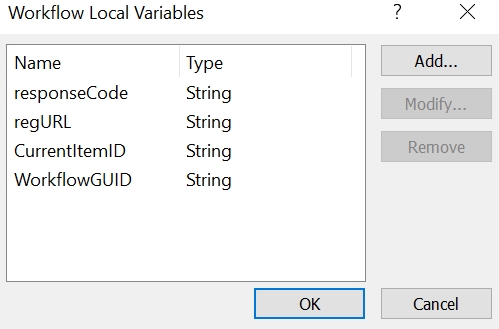
- Create a string variable called regURL
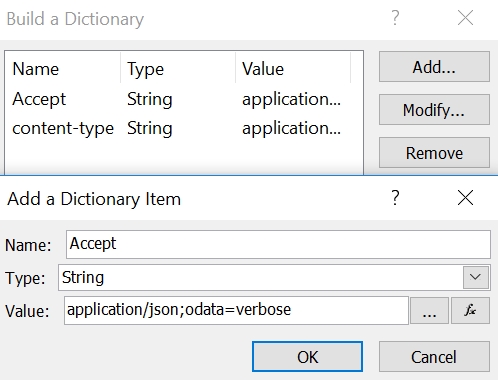
- Add the action Build Directory, select JSONRequestHeader as the variable
- Add Accept and content-type to the directory with the following code:
application/json;odata=verbose
- Then store the following URL to the variable regURL
[%Workflow Context:Current Site URL%]_api/lists/getbytitle('[%Worklfow Context:List Name%]')/items([%CurrentItem:ID%])/breakroleinheritance(true)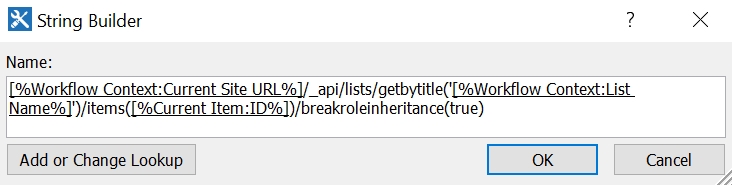
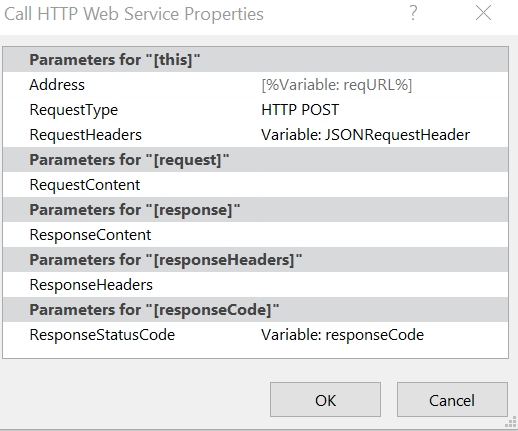
- Add the Call HTTP web service action to the workflow and set the “this” to the regURL
- Set RequestHeaders to Variable: JSONRequestHeader
- Set RequestType to HTTP Post
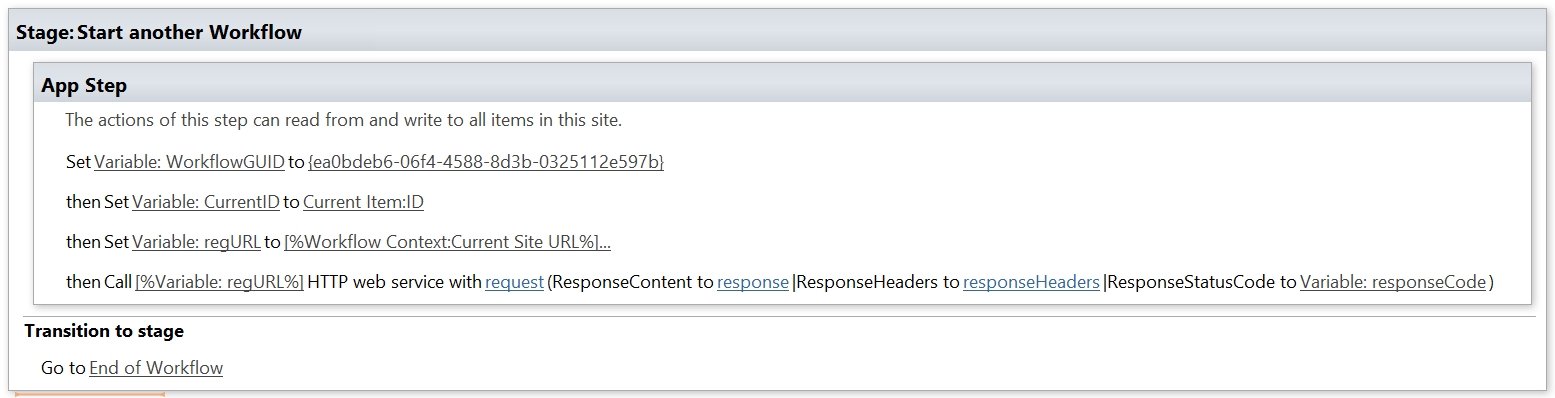
- The full workflow looks like this

Set permissions on current item
This workflow will set permissions on the item the workflow is running on. It is possible to change the regURL to set permission on different items. If needed set the actions within an App step to make sure the workflow has the required permissions, see the blog post SharePoint 2013 Workflow: App step and App Permissions.
- Create a SharePoint 2013 workflow
- Create a dictionary variable called JSONRequestHeader
- Create a string variable called regURL
- Add the action Build dictionary, select JSONRequestHeader as the variable
- Add Accept and content-type to the directory with the following code:
application/json;odata=verbose
- In this example we will grant the default members group contribute permissions.
- Add an step in the workflow called: Set Role Members
- Then store the following URL to the variable regURL
[%Workflow Context:Current Site URL%]_api/lists/getbytitle('[%Worklfow Context:List Name%]')/items([%CurrentItem:ID%])/roleassignments/addroleassignment(principalid='769',roleDefId=1073741826) - The roleDefID sets the type off permissions
- The principalId is the ID of the permissions group, this is an unique id. You will need to find the principalId for your SharePoint Group, see the chapter Get SharePoint Groups principalId to learn how to find the principalId.
- Add the Call HTTP web service action to the workflow and set the “this” to the regURL
- Set RequestHeaders to Variable: JSONRequestHeader
- Set RequestType to HTTP Post
- The full workflow looks like this

Get SharePoint Groups principalId
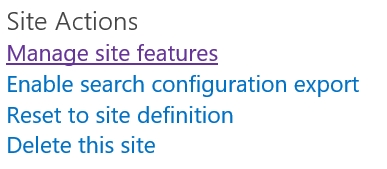
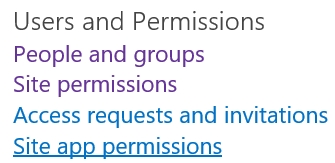
- Open the SharePoint site where the SharePoint Groups are present
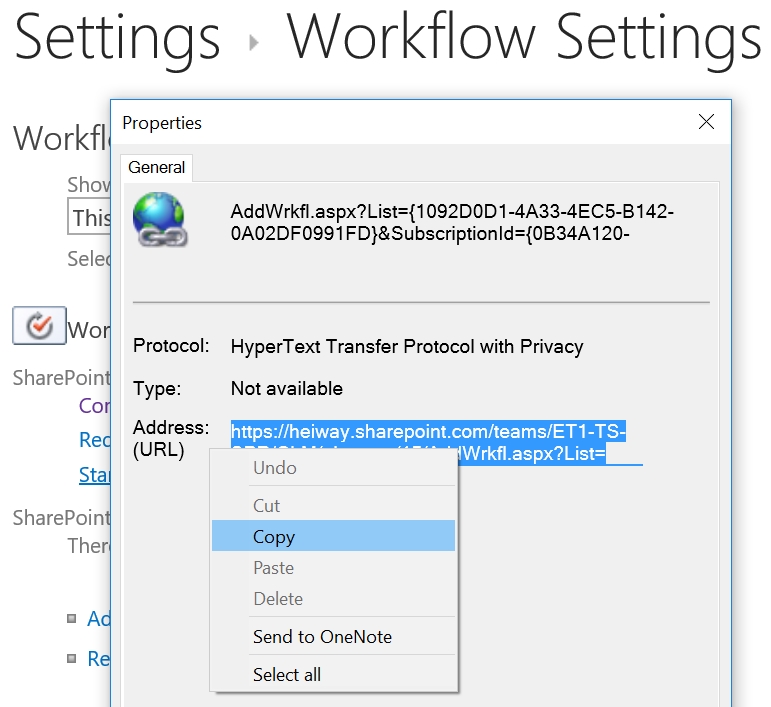
- Create the following URL
[Current Site URL]/_api/lists/getbytitle('[List Name]')/items([Item ID])/roleassignments/ - In the source of the page you can find the principalId’s
- The principalId’s are located between the following tag
<d:PrincipalId m:type="Edm.Int32">769</d:PrincipalId>
Remove all permissions on current item
This workflow will remove all permissions on the item the workflow is running on. It is possible to change the regURL to remove all permission on different items. If needed set the actions within an App step to make sure the workflow has the required permissions, see the blog post SharePoint 2013 Workflow: App step and App Permissions. With this workflow we will first break the inheritance, then get all permissions/roles on the item and then remove the roles. Only site collection administrator and farm admins will be able to access the item when the workflow has run.
- Create a SharePoint 2013 workflow
- Create a dictionary variable called JSONRequestHeader
- Create a dictionary variable called JSONDeleteHeader
- Create a dictionary variable called JSONResponse
- Create a dictionary called AllRoles
- Create a dictionary called RoleItem
- Create a string variable called regURL
- Create a integer called principalId
- Create a integer called Index
- Create a integer called countRoles
- Create a number called calc
- Add the action Build Dictionary, select JSONRequestHeader as the variable
- Add Accept and content-type to the directory with the following code:
application/json;odata=verbose
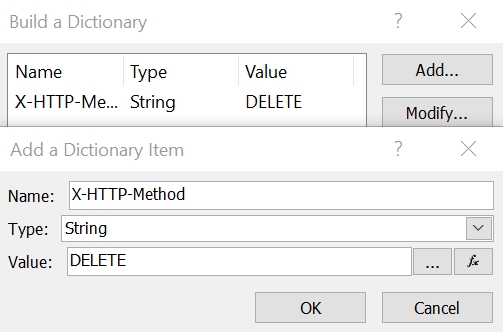
- Add the action Build Dictionary, select JSONDeleteHeader as the variable
- Add X-HTTP-Method to the directory with the following code:
DELETE
- The first step is to break the inheritance of the items, see above the chapter breaking the inheritance on current item for the steps.
- The second step is to get all SharePoint Groups (Roles) that have permissions on the item.
- Store the following URL to the variable regURL
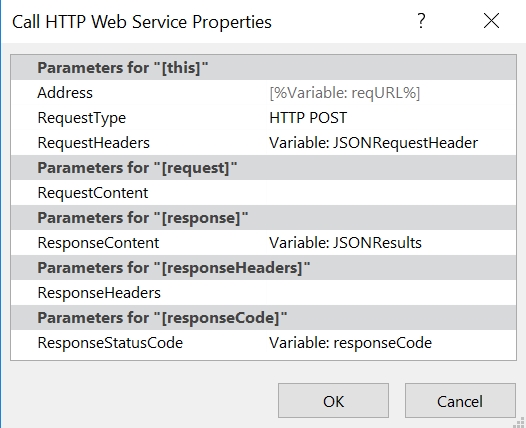
[%Workflow Context:Current Site URL%]_api/lists/getbytitle('[%Worklfow Context:List Name%]')/items([%CurrentItem:ID%])/roleassignments - Add the Call HTTP web service to the workflow and set the “this” to the regURL
- Set RequestHeaders to Variable: JSONRequestHeader
- Set RequestType to HTTP Post
- Set ResponseContent to JSONResults
- Add the action Get an Item from a Dictionary, select from Variable: JSONResults, with output to Variable:AllRoles and the following code
d/results

- Then add the action Count Items in a Dictionary, select from Variable:AllRoles with output Variable: countRoles

- The third step is to remove all the Roles
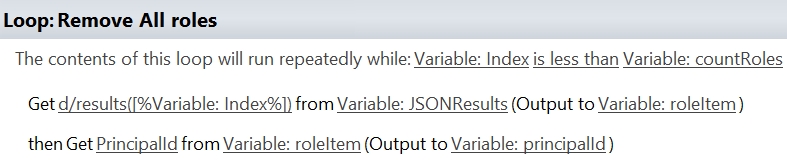
- Add a loop that runs repeatedly while: Variable:Index is less then Variable:countRoles
- Add the action Get an Item from a Dictionary, select from Variable: JSONResults, with output to Variable:roleItems and the following code
d/results([%Variable:Index%])
- Add the action Get an Item from a Dictionary, select from Variable: roleItem, with output to Variable:principalId and the following code
PrincipalId
- Then store the following URL to the variable regURL
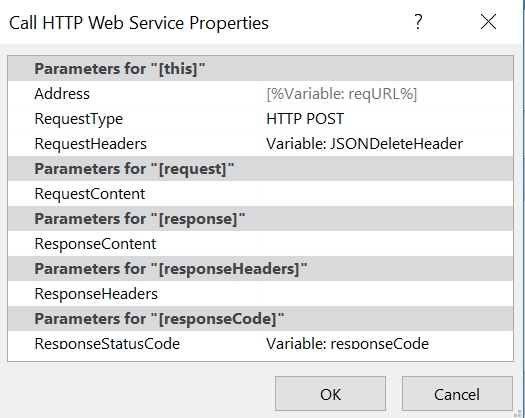
[%Workflow Context:Current Site URL%]_api/lists/getbytitle('[%Worklfow Context:List Name%]')/items([%CurrentItem:ID%])/roleassignments([%Variable:principalId%]) - Add the Call HTTP web service to the workflow and set the “this” to the regURL
- Set RequestHeaders to Variable: JSONDeletedHeader
- Set RequestType to HTTP Post
- Add the action Do Calculation select Variable:Index plus 1 and store the outcome in Variable: Calc
- Then Set Variable:Index to Variable:Calc

- The full workflow looks like this
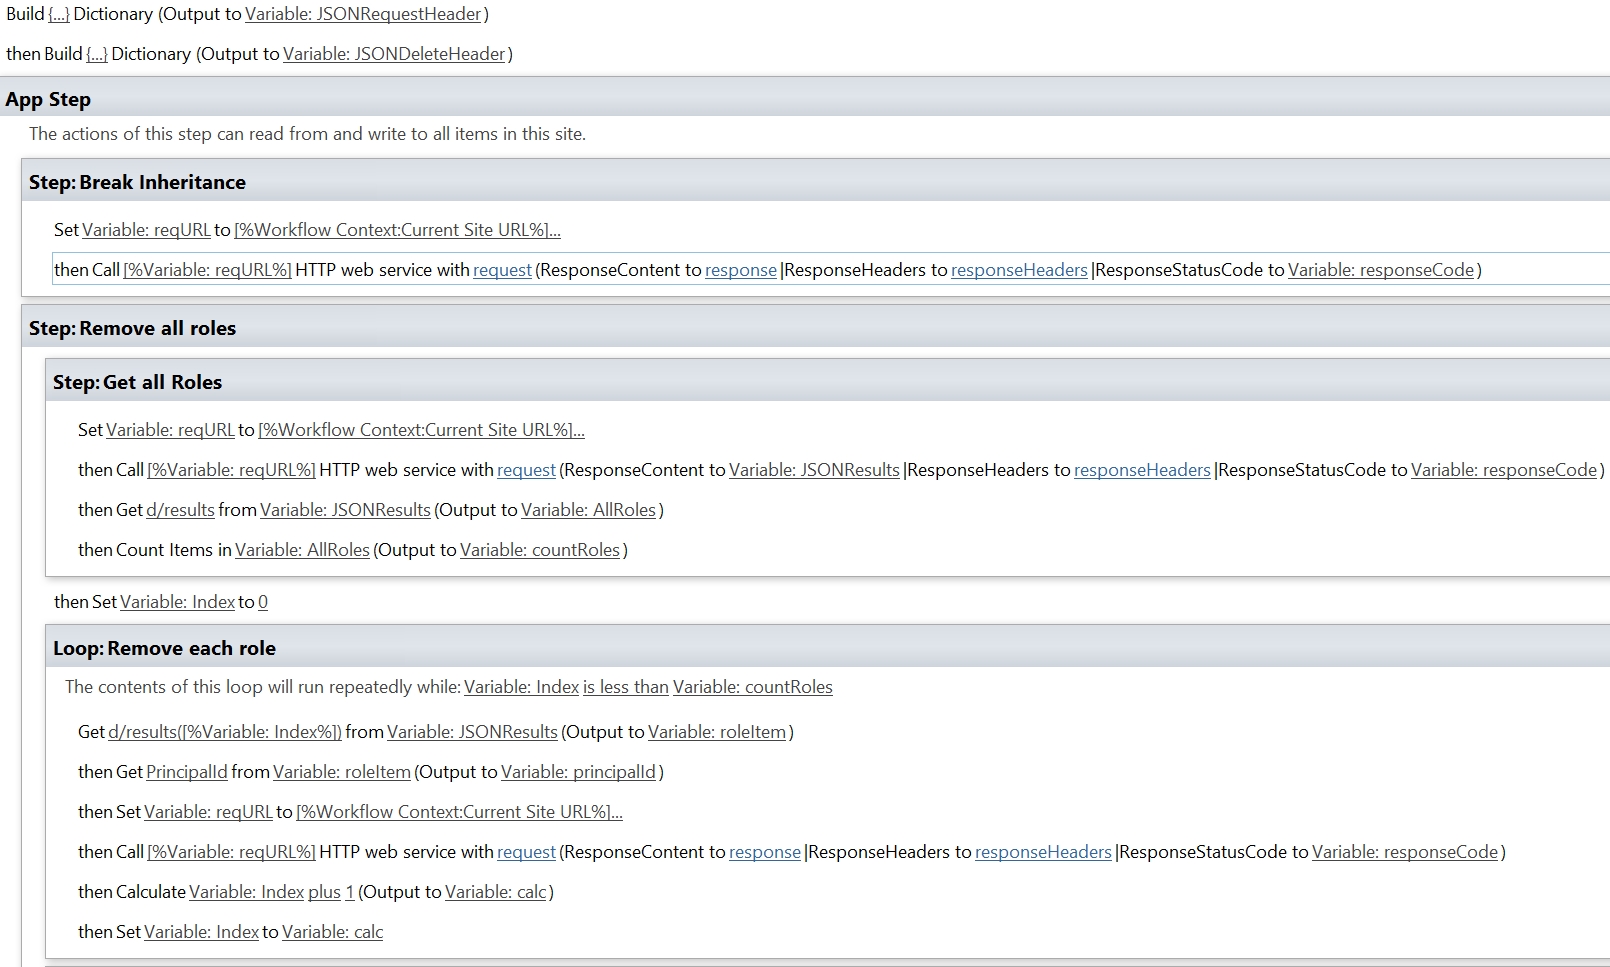


