SharePoint 2013 The guest link

With SharePoint 2013 is it possible to share content with external users! There are two different ways to share content, with and without an user account. Without an user account it is possible to share individual document, but when you need to share a whole site a user account is required. One of the best parts of the feature is that the user does not need a licence to be able to interact with the content.

In this post I will explain how to share a document without an account. In a different post I will explain how to share a whole site using an external user account.

Solution

1. Open the document library with the document that needs to be shared.
2. Click on the … and then click on Share.
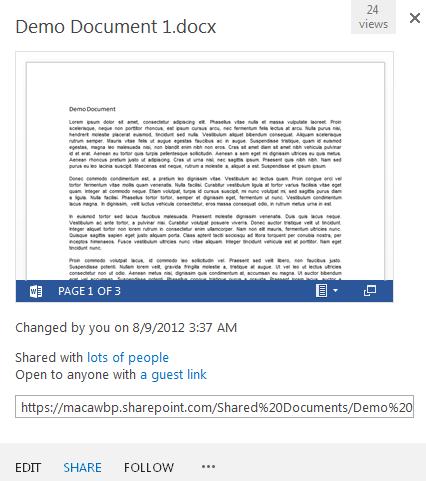
Share Document
3.  Fill in the email address and select Can Edit or Can View.
4. Deselect Require sign-in and click on Share.
Share Document 1
5. A popup window is shown to inform that the document is being Shared using a guest link.
Shared Using Guestlink
6. The following email is send to the user.
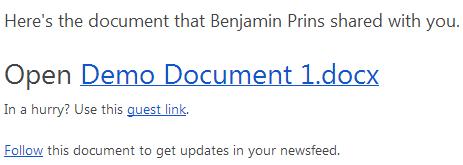
Guest Email
7. Click on the Guest link to open the document.
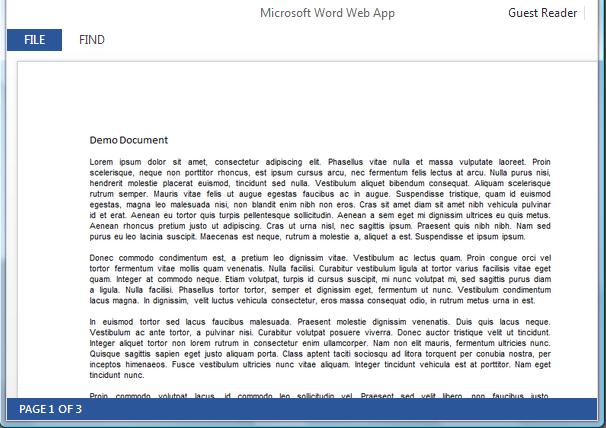
8. The document will be opened and ready for us.

Result
Guest Reader

SharePoint 2013 How to Embed video

In SharePoint 2013 it’s very easy to embed video files. There is no need for content editor web parts or scripting. It is even possible to add embedded video links when replying to a discussion post!

Solution

1. Reply to a discussion topic or edit  a wiki page.
2. Click in the ribbon on Insert.
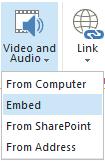
3. Click on Embed under Video and Audio.
AddPictureEmbeded
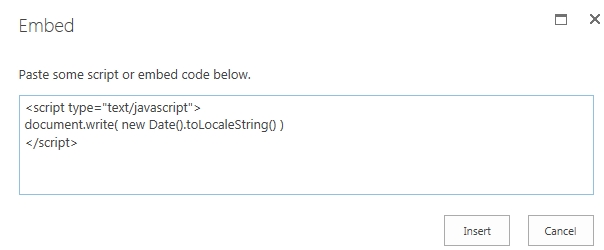
4. Paste the embedded video code and click on Insert.

AddVideoEmbedded
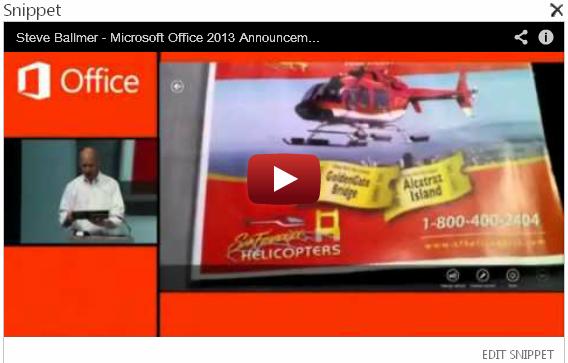
5. A snippet of the video will be shown in the reply box.
AddVideoEmbeddedSnippet
6. Click on Reply to post the video media link or save the page.

Result
ResultAddVideo

SharePoint 2013 How to add javascript to your site

In SharePoint 2013 is enriched with the Script Editor web part. The web part makes it very easy to add JavaScripts and Jquery script to your SharePoint 2013 site.

Solution

1. Edit the page where you want to use JavaScript.
2. Add the web part Script Editor.
3. Edit the web part Script Editor.

Javascript_2

4. Insert the needed Javascript, in this example the JavaScript will show the current date and time.
Javascript_3
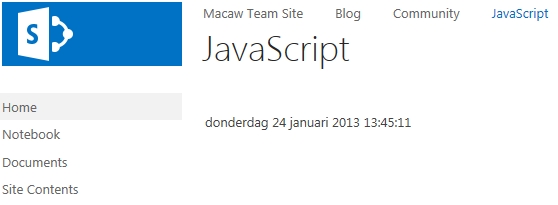
5. Save the changes and  enjoy the result.

Result

Javascript_4

SharePoint 2010/2013 Folders and document set

Many companies are using folder and folders within folders. SharePoint 2010 and 2013 have two different kinds of folders, a document set and the ‘normal’ folder.

With SharePoint 2010 creating a folder in a document set using windows explorer is possible but not recommended. When a folder is present in the document set a number of features will break, for example the share column and record function.

The document set function of SharePoint 2013 Preview seems to be under construction.  It is possible to create document set but the GUID of de document set will be broken. The overview of the structure options for SharePoint 2013 is an indication of what might be, we will have to wait for the full version to verify the options.

In SharePoint 2010 it is possible to…

  • create a folder within a folder
  • create a document set within a folder
  • create a folder within a document set with the windows explorer (creating folders within document set is not advised )

In SharePoint 2010 it is not possible to…

  • create a folder within a document set through the GUID
  • create a document set within a document set

In SharePoint 2013 Preview it is possible to…

  • create a folder within a folder
  • create a document set within a folder
  • create a folder within a document set

In SharePoint 2013 Preview it is not possible to…

  • create a document set within a document set

SharePoint 2013 Visual Workflows

A new feature of SharePoint 2010 was to visual design workflows in Visio. It was only possible to visual design the workflow, the configuration of the actions could only be done with SharePoint Designer. This is still possible in SharePoint 2013 but there is also something new. With SharePoint Designer 2013 it is possible to visual design the workflow and fully configure the actions!


Text-based Designer


Visual Designer

Changing the view

1. Create a new workflow in SharePoint Designer.
2. Change the default Text-based view to the new Visual designer view, by clicking on Views.

3. Add actions and logic to the workflow.
4. Configure the actions.