SharePoint 2013 Workflow: App step and App Permissions

By default workflows run under the permissions of the user that starts the workflow, even is the workflow starts on a change or when a new item is created. The initiator does not always have the right permissions to complete all the actions within the workflow. For example when the workflow needs to delete an item, create a new items or use a web service. With SharePoint 2013 workflows it is possible to use the App step action to give the workflow its own permission set.

Solution part 1: Activate the feature

  1. The feature Workflows can use app permissions needs to be active.
  2. Open the site settings and click on Manage site features
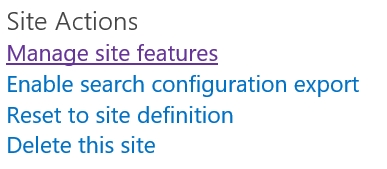
  3. Activate the feature: Workflows can use app permissions

Solution part 2: Grant workflow app permissions

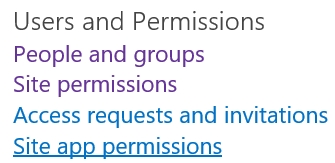
  1. Open the site settings and click on Site app permissions
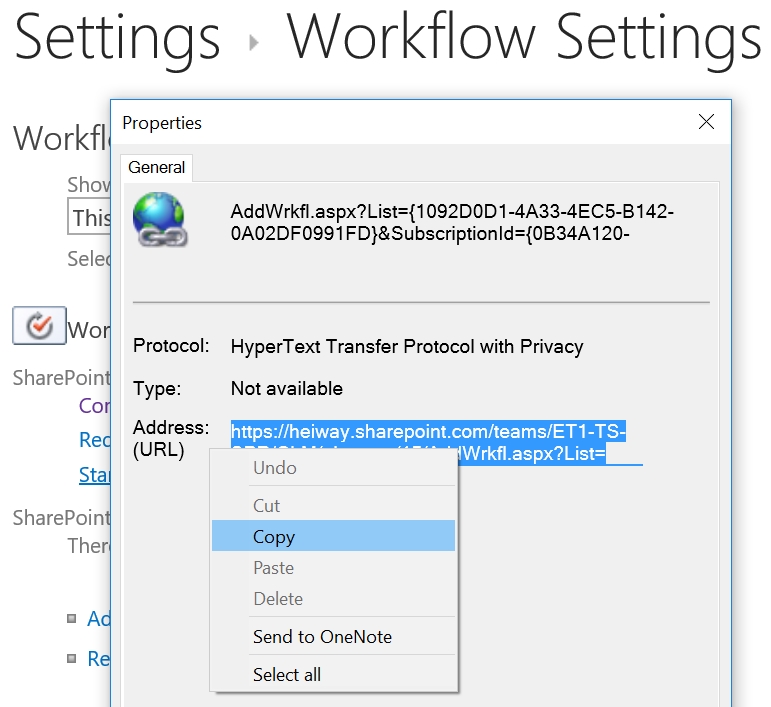
  2. Copy the client section if the App Identifier. This is the identifier between the last “|” and the “@” sign, as shown in the figure.
  3. Navigate to the Grant permissions to an app page.This must be done by browsing to the appinv.aspx page of the site.
    http://}hostname}/{the Site Collection}/_layouts/15/appinv.aspx
    
  4. Fill in the App Id and click on Lookup
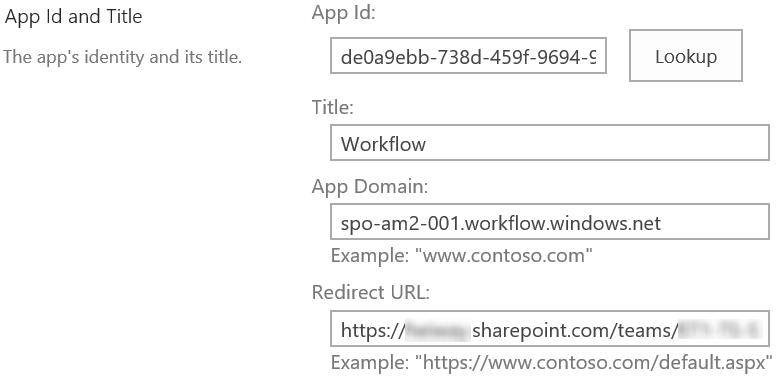
  5. The fields Title, App Domain and Redirect URL will be filled in automatically.
  6. Paste the following XML into the Permission Request XLM textbox to the grant the workflow App step full control
    <AppPermissionRequests>
        <AppPermissionRequest Scope="http://sharepoint/content/sitecollection/web" Right="FullControl" />
    </AppPermissionRequests>
    
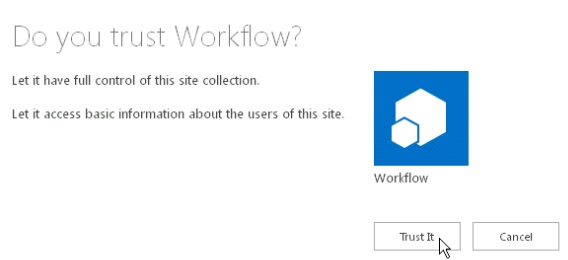
  7. Click on Create and on Trust It

Solution part 3: Using the App step

  1. Create a SharePoint 2013 Workflow with SharePoint Designer.
  2. Click on App Step in the ribbon to add the step.
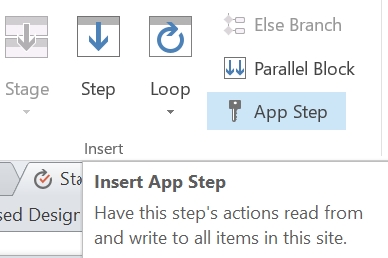
  3. Add actions within the App Step and publish the workflow, for example:
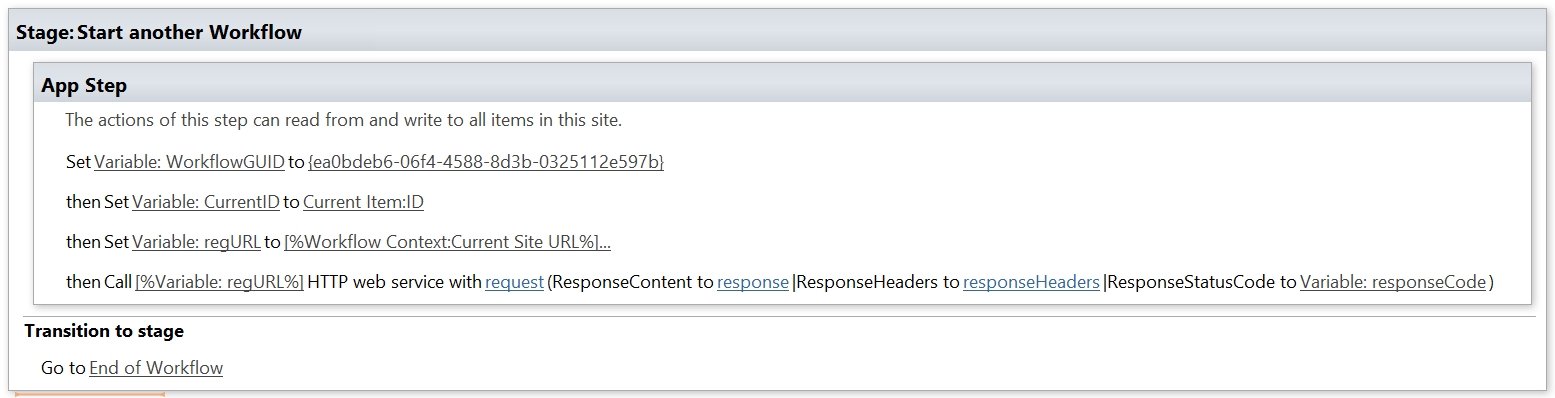
SharePoint 2013 Workflow: Start a workflow using a REST call

SharePoint 2013 workflows do not have a default action to start another 2013 workflow. There is an action to start 2010 workflows, but for my solution I required the more advanced actions only available with SharePoint 2013  workflows. With the help of the call http web service action I was able to create a REST call that started the workflow. The solution was build on SharePoint Online (Office 365) using a SharePoint 2013 workflow.

The REST call workflow consist of three major parts;

  1. The HTTP web service URL
  2. The SubscriptionID of the workflow that needs to be started
  3. The itemID of the item on which the workflows needs to be started.

A side note: The workflow that is being started needs to be configured to start manually. I could not find any reference on MSDN about this, but without this option I would get an error message.

Solution

  1. Create a SharePoint 2013 workflow
  2. Create a string variable called CurrentItemID
  3. Create a string variable called WorkflowGUID
  4. Create a string variable called regURL
    workflowvariables
  5. Now we need to find the SubscriptionID of the workflow we want to start. It is possible to use another REST call to find the SubscriptionID. But I prefer the following method.
  6. Navigate to the workflow settings of the list where the workflow is located
  7. Right-click on the workflow and open the properties
  8. Copy the URL and find the SubscriptionID within the URL
    getsubscriptionid
  9. Set the variable WorkflowGUID with the found SubscriptionID
  10. Set the variable CurrentID with the ItemID of the current item or item on which the workflow needs to start.
    setvariables
  11. Then store the following URL to the variable regURL
    [%workflow Context: Current Site URL%]_api/SP.WorkflowServices.WorkflowInstanceService.Current/StartWorkflowOnListItemBySubscriptionId(subscriptionId='[%Variable: WorkflowGUID%]',itemID='[%Variable: CurrentItemID%]')
    
  12. Add the Call HTTP web service to the workflow and set the “this” to the regURL
  13. Set the HTTP Method to HTTP POST
    setcallhttpwebservice
  14. The workflow will now look like this
    fullwfstartanotherwf
  15. The app step is used to make sure the workflow has the required permissions. More details about the App Stepp will be explained in another blog post.


SharePoint Designer: Clearing the cache

SharePoint Designer sometimes is out of sync with SharePoint. SharePoint Designer will incorrectly show items as checked out (or checked in) and refuses to be update with the actual status. In some cases the following error will be shown when trying to check out/in an item.

“Cannot perform this operation. The file is no longer checked out or has been deleted.”

Solution
The solution to this problem is to clear the cache of SharePoint Designer.

1. If opened close SharePoint Designer
2. Open the folder %APPDATA%MicrosoftWeb Server ExtensionsCache
3. Delete the contents
4. Open the folder %USERPROFILE%AppDataLocalMicrosoftWebsiteCache
5. Delete the contents
6. Problem solved.