SharePoint: Show all files which have no checked in version

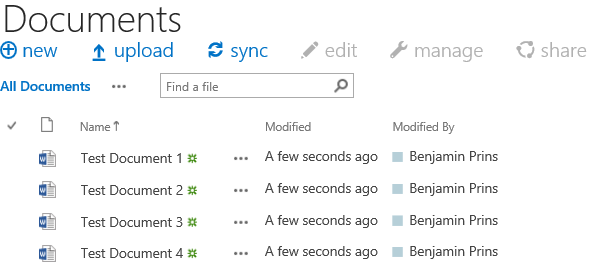
With SharePoint 2010/2013 and the “Check in – Check out” feature enabled documents may seem to disappear and reappear for users without a cause. A common scenario is that colleague 1 saved a document on SharePoint but colleague 2 is unable to find it. While Colleague 1 can still see and find the document. This is a common and a very frustrating situation. This happens when a new file is stored on SharePoint but does not yet have a checked in version. This can happen when multiple files are uploaded to SharePoint and a required column is not filled in or when the setting Require Check Out is enabled. The file(s) will be stored on SharePoint but will be check out and only visible for the up-loader. There is a way for every user to see these hidden checked out documents.

Colleague 1 sees Colleague 2 sees
All documents Check in documents

 
Solution

1. Open the document library where the documents are missing.
2. Click in the ribbon on Library – Settings – Library Settings.
3. Click on Manage files which have no checked in version.
4. All the documents without a checked in version will be displayed.
Checked Out Files
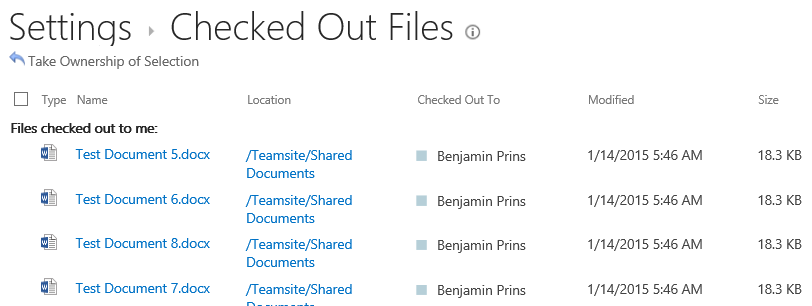
5. If needed the user can take over the ownership and check in the document.

SharePoint Online: Search refiners and searchable columns

Adding search refiners and creating searchable columns with SharePoint Online is a little bit different then with SharePoint 2013 on premise. In this blog post I will explain how to add search refiners and how to make custom columns searchable. There are 5 major parts we need to implement;

  • Create a custom column
  • Add some content
  • Map a crawled property to a refinable managed property
  • Created the alias
  • Configure the refiners

Solution

1. Create your custom column, for example Product.
2. Create some content with the custom column.
3. Wait for the column to be added as a crawled property, this might take up to 24 hours.
4. Open the SharePoint admin center and click on Search.
SharePointAdminCenter
5. Click on Manage Search Schema.
6. Depending on the type of column you will need to use different type of preset Managed Properties.

Managed property name Data type for mapping
RefinableDate00 – RefinableDate19 Dates.
RefinableDecimal00 – RefinableDecimal09 Numbers with max three decimals.
RefinableDouble00 – RefinableDouble09 Numbers with more than three decimals.
RefinableInt00 – RefinableInt49 Whole numbers.
RefinableString00 – RefinableString99 Strings, Person or Group, Managed Metadata, Choice and Yes/No

7. Search the related type on Managed Property.

RefinableString01
8. Click on Edit Map Property in het drop-down menu.
9. Add the Crawled property of the custom column, in our example it will be ows_Product.
AddMapping
10. Fill in the alias, this will make the column searchable.
11. Save the changes.
12. Close the SharePoint admin center and open the search center result page.
13. Set the page in edit modus and edit the Refinement web part.

EditRefinerWebPart
14. Click on Choose refiners… and add the managed property, in this example RefinableString01
15. Change the display name to the custom columns name, otherwise the refiner will be shown as RefinableString01
16. Search for some content and enjoy the result!

Result

SearchRefinerResult2