SharePoint 2010/2013 Folders and document set

Many companies are using folder and folders within folders. SharePoint 2010 and 2013 have two different kinds of folders, a document set and the ‘normal’ folder.

With SharePoint 2010 creating a folder in a document set using windows explorer is possible but not recommended. When a folder is present in the document set a number of features will break, for example the share column and record function.

The document set function of SharePoint 2013 Preview seems to be under construction.  It is possible to create document set but the GUID of de document set will be broken. The overview of the structure options for SharePoint 2013 is an indication of what might be, we will have to wait for the full version to verify the options.

In SharePoint 2010 it is possible to…

  • create a folder within a folder
  • create a document set within a folder
  • create a folder within a document set with the windows explorer (creating folders within document set is not advised )

In SharePoint 2010 it is not possible to…

  • create a folder within a document set through the GUID
  • create a document set within a document set

In SharePoint 2013 Preview it is possible to…

  • create a folder within a folder
  • create a document set within a folder
  • create a folder within a document set

In SharePoint 2013 Preview it is not possible to…

  • create a document set within a document set

SharePoint 2013 Visual Workflows

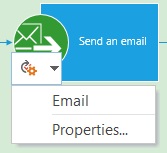
A new feature of SharePoint 2010 was to visual design workflows in Visio. It was only possible to visual design the workflow, the configuration of the actions could only be done with SharePoint Designer. This is still possible in SharePoint 2013 but there is also something new. With SharePoint Designer 2013 it is possible to visual design the workflow and fully configure the actions!


Text-based Designer


Visual Designer

Changing the view

1. Create a new workflow in SharePoint Designer.
2. Change the default Text-based view to the new Visual designer view, by clicking on Views.

3. Add actions and logic to the workflow.
4. Configure the actions.

SharePoint 2013 community site

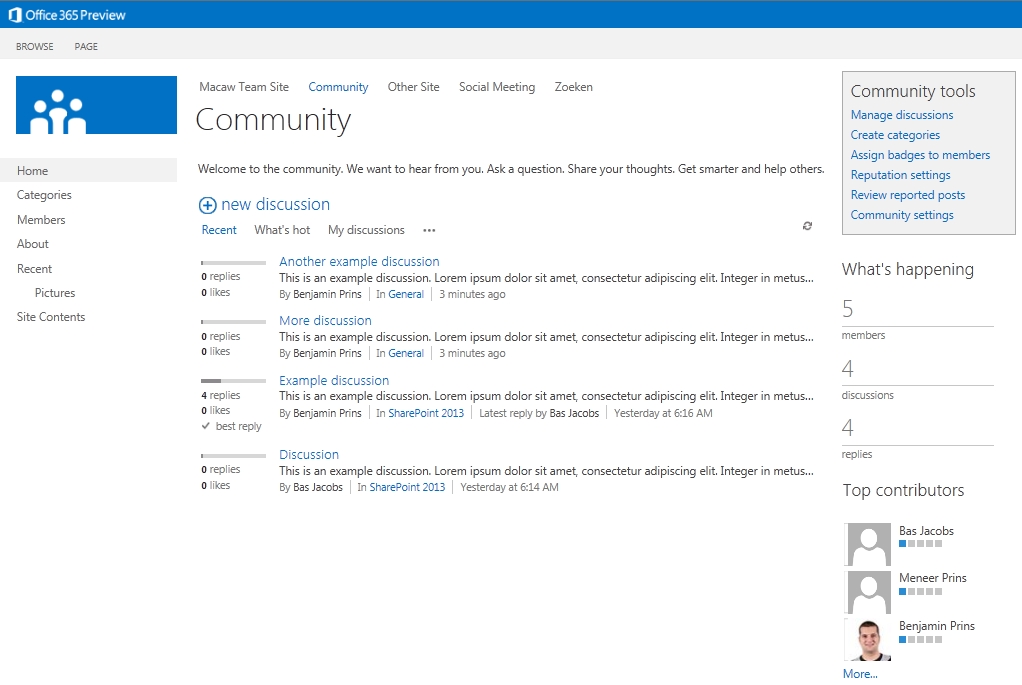
A lot of new social features have been added in SharePoint 2013. A major social feature is the new community site. In this blog I will show the new features included in the community site.

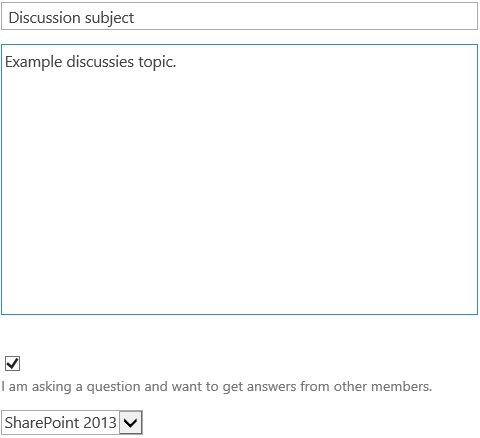
Creating a discussion

When a new discussion is created a user can raise the discussion as a question. For as long as there is no answer the discussion will be show in the Unanswered question view.

Featured discussions

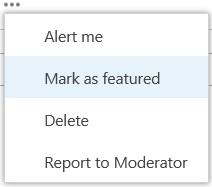
Discussion can be marked as featured to indicate there importance. Featured discussion will be shown in the Featured view.

Finding discussions

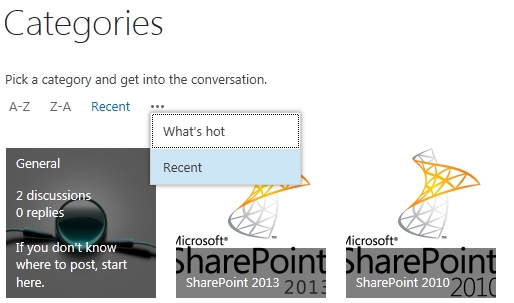
The content of the community is organized by categories. Users can interact with the rich interface to find the correct category. Hovering over a category shows the number of discussions, replies and the description.  The views “Recent” and “What’s hot” help the users to find new are popular categories.

After selecting the correct category with the help of the different views users can find the correct discussions. For example the Featured view displays all the posts that are set as featured (important) and the Unanswered question view shows all the post without an answer.

Members

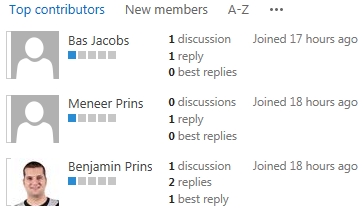
Members of a community site are user who interacted with the site, not the user added to the community sites members group. The member list shows all the members with their statistics.

My membership
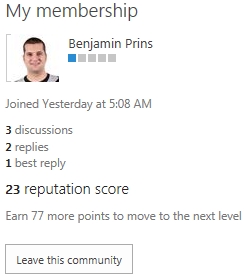
On the members page users can see their own reputation statistics and if they wish leave the community.

Reputation

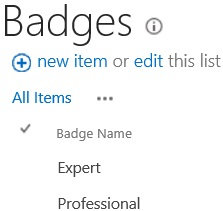
Users activity on community sites will give the user reputation points, bases on the gained points users will be awarded achieved badges.  Points are gained per community and achieved badges can be shown as a bar or as text.

Users gain points by;

  • creating new posts,
  • replying to posts,
  • getting a liked or receives a rating of 4 or 5 on a reply or post,
  • getting a reply get marked as ‘Best Reply’.

It is not possible to extend the reputation model.

Besides the achieved badges there are also gifted badges. Gifted badges cannot be earned, but are manually awarded.

Rating

There are two rating systems available, rating with stars and rating with likes. Rating is an individual setting for lists and libraries.

Add View folder link for document search results

In the default document search results it is only possible to open the documents. It is not possible to navigate to the documents location.

Solution

1. Edit the Search Core Results Web part on the Search Center results page.
2. Click on XSL Editor under Display properties.
4. In the XSLT look for the following code.

<xsl:template name="ViewInBrowser">
        <xsl:param name="browserlink" />
        <xsl:param name="currentId" />
        <xsl:if test="string-length($browserlink) &gt; 0">
            <span class="srch-urllink">
                <a href="{$browserlink}" id="{concat($currentId,'_VBlink')}">
                    <xsl:value-of select="$ViewInBrowser" />
                </a>

3. Add the following code after the code for ViewInBrowser.

<!-- Toon View Folder link bij documenten -->    
<xsl:if test="isdocument = 'True'">
  <a>
    <xsl:attribute name="href">
      <xsl:value-of select="sitename"/>
    </xsl:attribute>
    View Folder
  </a>                         
</xsl:if>

4. Save the changes and  enjoy the result.

Result

SharePoint 2013 the my tasks social feature

A lot of new social features have been added to SharePoint 2013. My tasks is one of the new social features. My tasks is located on the my site of every user and shows the aggregated tasks.  The aggregation happens through a new shared service application called “Work Management”.  The SSA uses an hidden list in the users my site to cache all the task data and is able to aggregate from SharePoint sites, Exchange and Project sites. The my tasks does not only show the tasks but provides the user with a fully editable task and the ability to create new tasks.   In this blog I will show a few of the new features included in the my tasks.

Try out the new Microsoft Office 365 Enterprise Preview for yourself!

Tasks preview panel

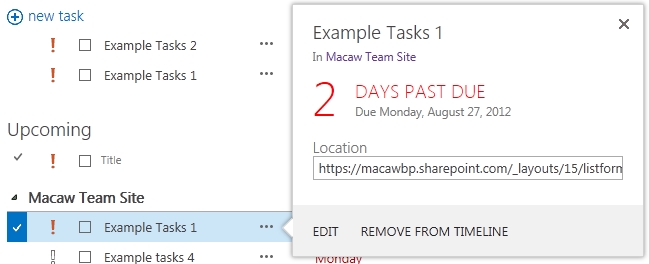
A fancy new preview panel is added. Click on the dots beside the task to open the preview panel. The panel shows the location and URL of the tasks but more importantly the due date of the task. In this example the task is 2 days past the due date and is shown in red.

Task filter

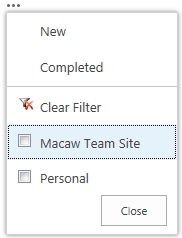
Tasks can be filtered to show only the tasks form a specific location.

1. Click on the dots to show the additional options.
2. Select one or more locations to filter the tasks.

Search in my tasks

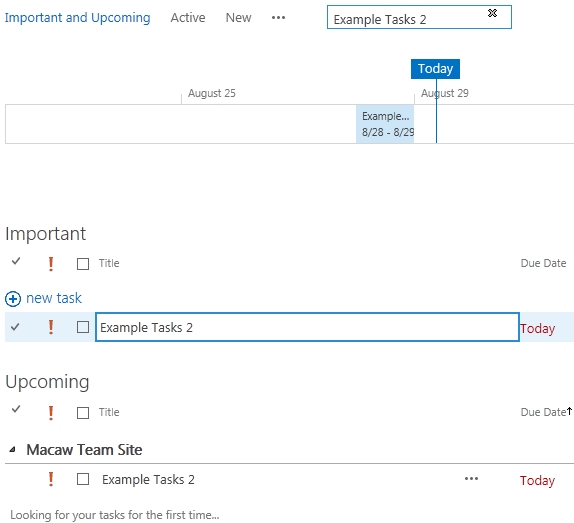
A search box has been added to the tasks list. The search query will be executed directly on the task list without a page reload or page redirect!

Tasks importance

The importance of a task is show by the red exclamation mark. Simply click on the exclamation mark to change the importance.

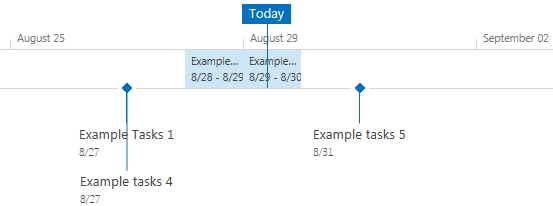
The timeline

The timeline shows the tasks within the range of the timeline.

Remove task from timeline

Removing tasks from the timeline is very simple.

1. Click on the dots to open the task preview panel.
2. Click on Remove from timeline.

Add task to timeline

Adding a task to the timeline works the same as removing a tasks from the timeline.

1. Click on the dots to open the task preview panel.
2. Click on Add to timeline.