With JSLink you have the ability to quickly and easily change how a list views and forms are rendered. Together with jQuery, CSS and even JavaScript you can present a SharePoint list in endless ways. JSLink works very well when you only one web part with a custom JSLink located on a page. The default behavior with multiple web parts on a page is that all web parts will use the JSLink. This is counter intuitive since we set the JSLink on one web part. With the solution below we can make sure that only the correct web part use the custom JSLink code. The solution is created in cooperation with Peter van Koesveld.
Solution
This solution works for a page where one web part needs to be modified by the JSLink.
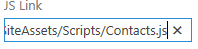
- Create a JavaScript file with the following code: JSLinkMultipleWebParts.
- Change the if statements to match the name of the list.
if (ctx.ListTitle == "ListTitle")
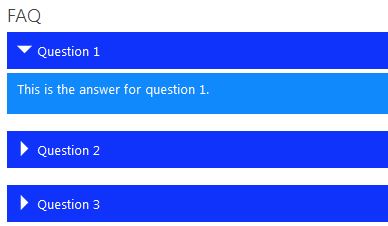
- Change the headerHtml, ItemHtml and footerHtml to show the list as required.
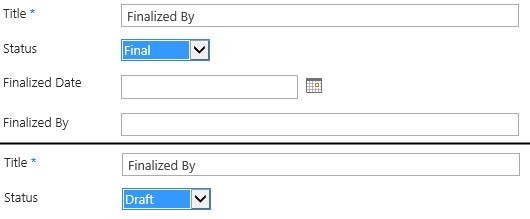
- In the example the Title field will be displayed, make sure this field is available.
- Save the JavaScript file to SharePoint.
- Set the JSLink property.
Explanation
- The JSLink overrides the default Templates (Header, Item and Footer).
- Then if the ListTitle equals the provided ListTitle the custom code is run for the header, Item and Footer.
- If the ListTitle does not match the default RenderTemplate will be used.
function renderItem() {
    if (ctx.ListTitle == "ListTitle") {
        //CustomItemRender
    } else {
        //Return the default Item Template
    	return RenderItemTemplate(ctx);
    }
}
- RenderHeaderTemplate
return RenderHeaderTemplate(ctx); - RenderItemTemplate
return RenderItemTemplate(ctx); - RenderFooterTemplate
return RenderFooterTemplate(ctx);
- RenderHeaderTemplate


