Microsoft is working hard to update Office 365 by adding new features and improving the overall user experience. I am very excited for the following new features. Note that some of these features are already live, being rolled out or still being developed.
Teams
The number of participants who can be viewed simultaneously in a meeting is now nine. This is a great update; this will help the meetings to go smoother.

You can now raise a hand in teams. By virtual raising your hand, you can signal to the speaker or organizer that you want to speak.
- During a Teams meeting go to the options bar.
- Click on the hand icon.

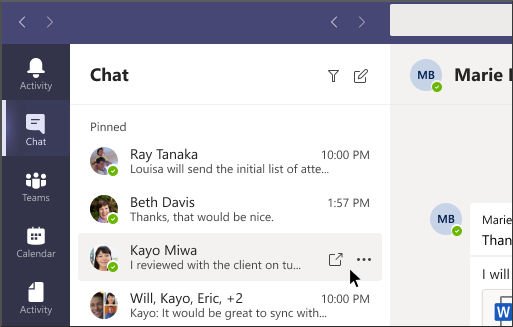
In Teams you can now instantly pop out your chat into a separate window! But thats not all you can also, resize, reposition, or close the window as you wish. You can pop out multiple conversations at the same time.
- Click on the pop out icon to pop out the chat.
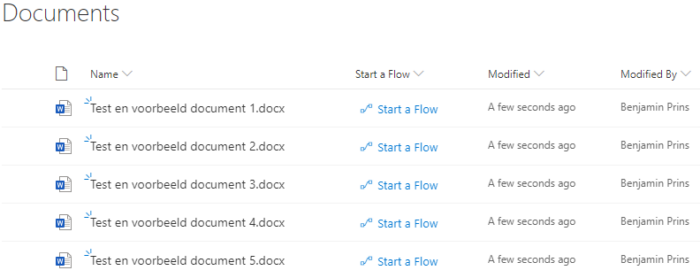
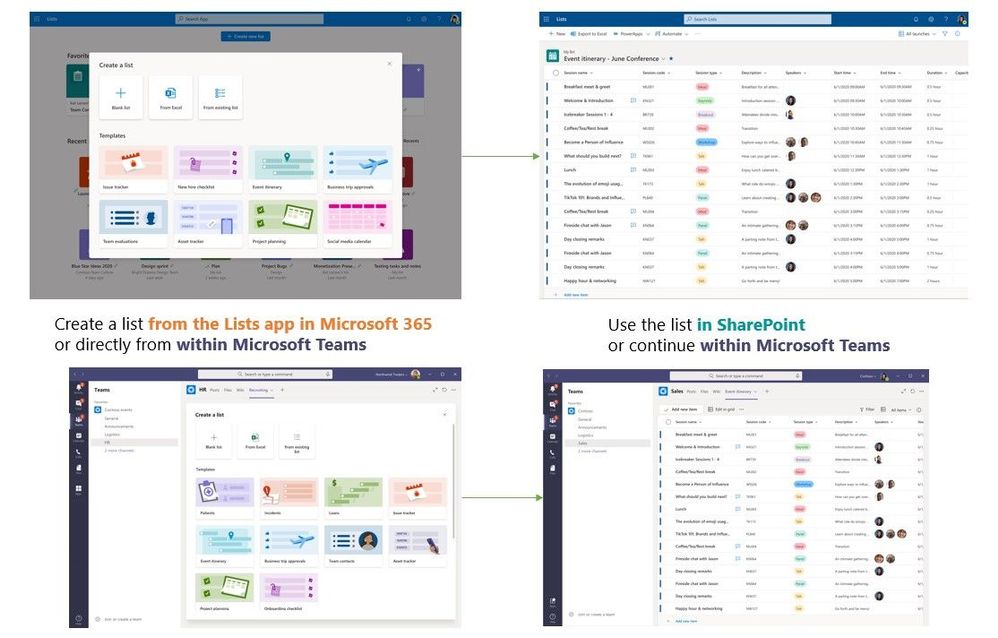
Modern Lists
Modern Lists has been announced, at this moment it is unknown when it will be released. With Modern Lists the platform will reach a new level of flexibility and maturity, the possibilities seem endless.
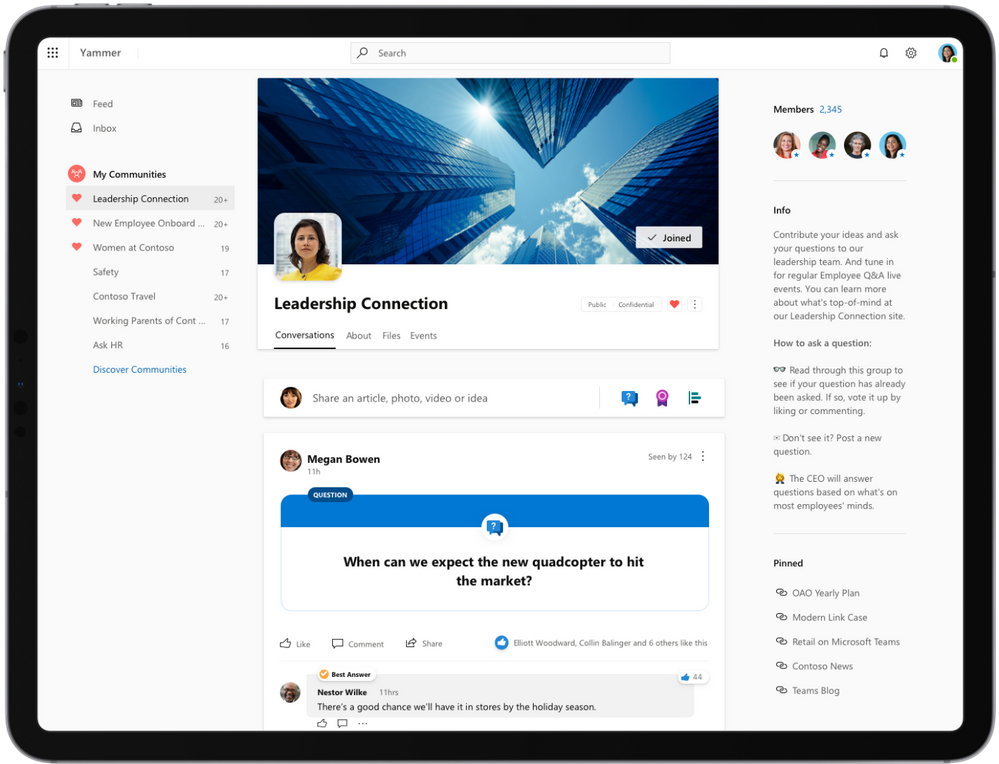
Yammer
The new Yammer is in public preview and it looks great. I listed a few of my favorites below. You can find all the details in the Microsoft announcement.
- You can now pin your favorite communities (formerly known as groups) to the navigation for quick access.
- The integration with Outlook, Teams and SharePoint has been update and works smoother.
- You can brand Yammer with your company logo!
- Posts can now be reported to make it easier to moderate your communities.
- You can now search and filter easier.
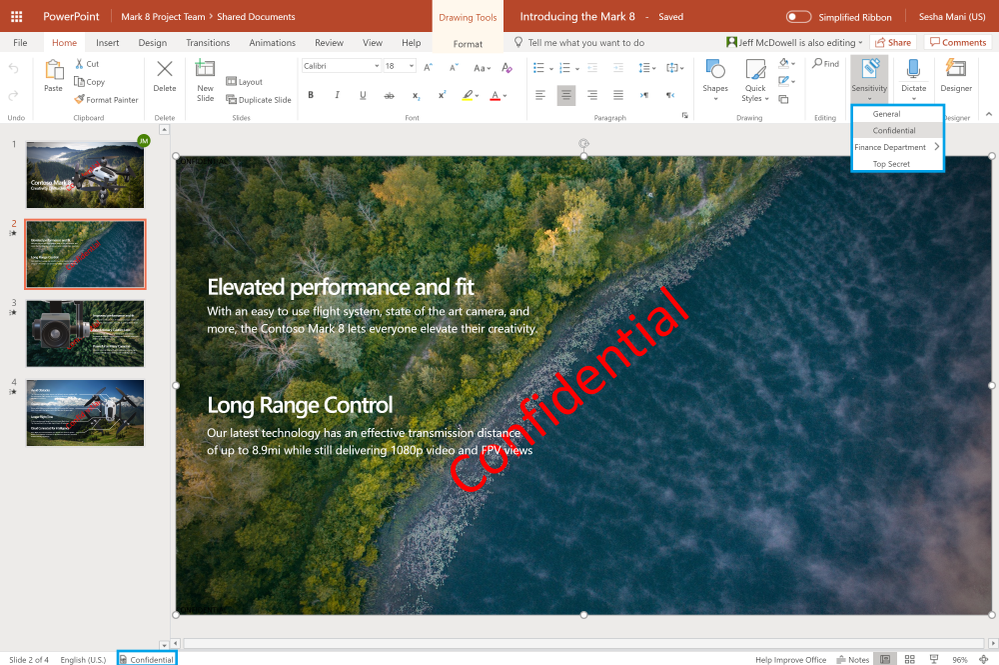
Sensitivity labels for SharePoint and OneDrive
Sensitivity labels from the Microsoft Information Protection framework let you classify and protect your organization’s data, while making sure that user productivity and their ability to collaborate is not hindered. When the sensitivity label are created and associate protection policies like encryption and visual marking, then your end users simply label their important documents and emails. You can find all the details in the Microsoft announcement.
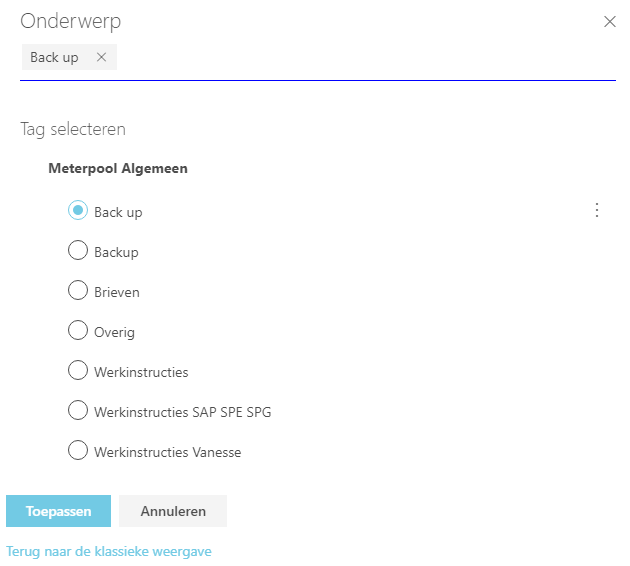
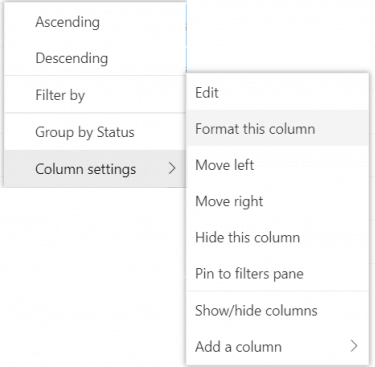
SharePoint Term Store
The SharePoint Term Store is being updated and one of the changes is now visible. The user interface has been modified to look cleaner and is easier to use. When you want to create more terms you will need to switch to the classical view. You can do this by clicking on the link called Return to classic.