Power Automate is one of my favorite tools from the Power Platform. It is extremely versatile and can be used to automate tasks between online services and automate processes ranging from simple to highly complex. In this post, I will share with you 6 tips and tricks when building flows in Power Automate.
Flow templates
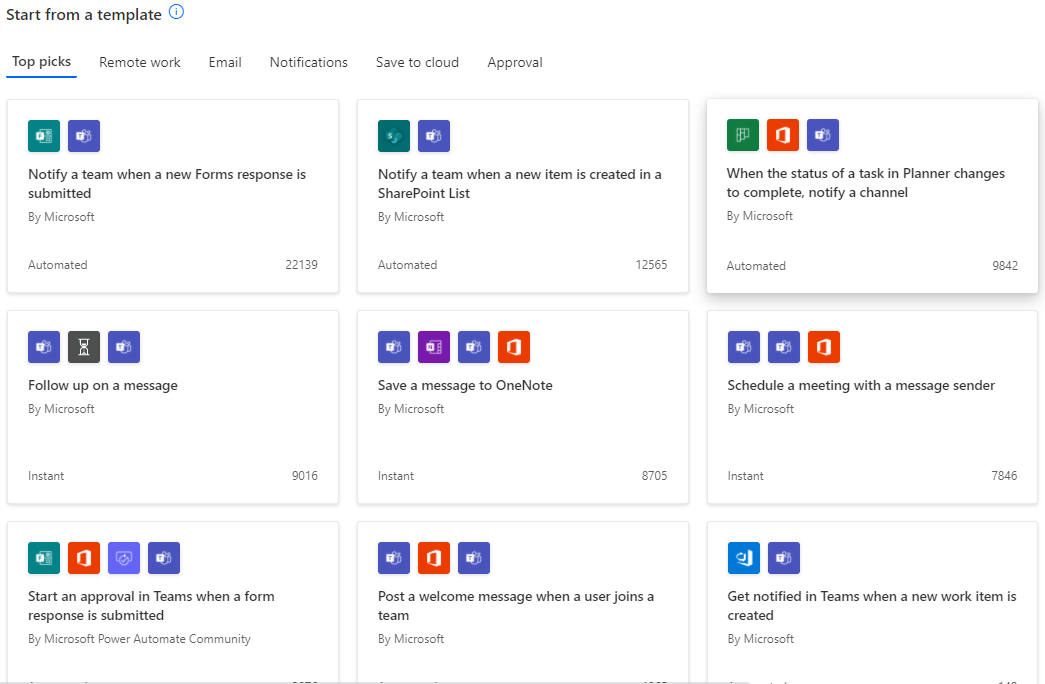
A good way to get started with Power Automate is to use a template. Microsoft created a huge library of templates to choose from. You can browse by category to find your scenario, and then follow the steps in the template to create a flow from the template. You can also us the templates to figure out how to setup certain actions.
Equal to empty
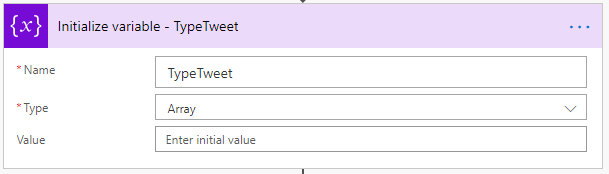
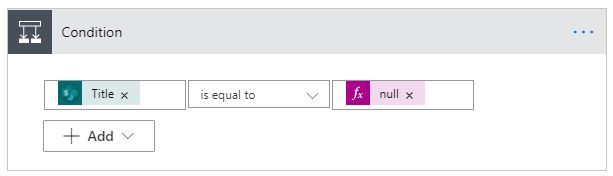
Over the years many colleagues have asked me; how do I check if a value is empty? You can do this with the null expression! Note that sometimes you need to place the null between ‘ ‘.

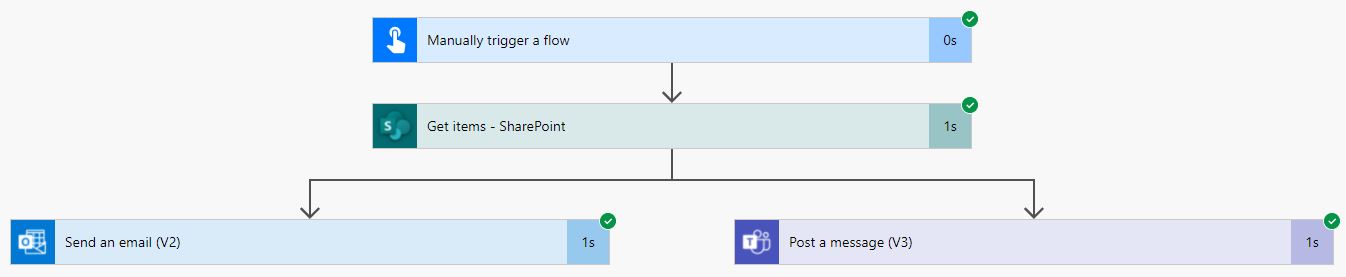
Use parallel branches
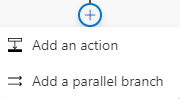
Most flow builders forget to use the parallel branches. With parallel branches you can have two or more actions that run at the same time, after which the flow will only proceed once all parallel steps have completed. Parallel branches can be very useful for approval flows. For example, you have a request that needs to be approved by both IT and Sales, but the approval doesn’t need to be in a particular order. To save time you can run the approvals parallel.
Use scopes
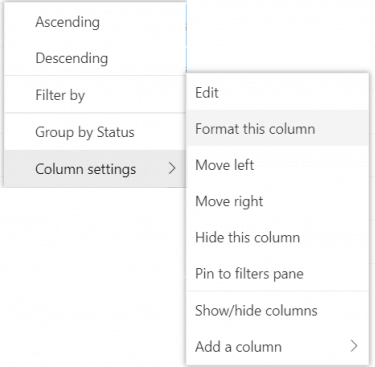
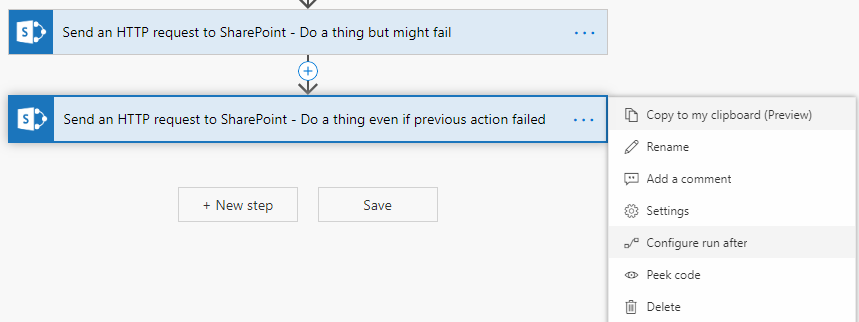
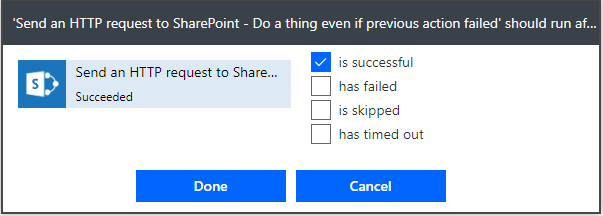
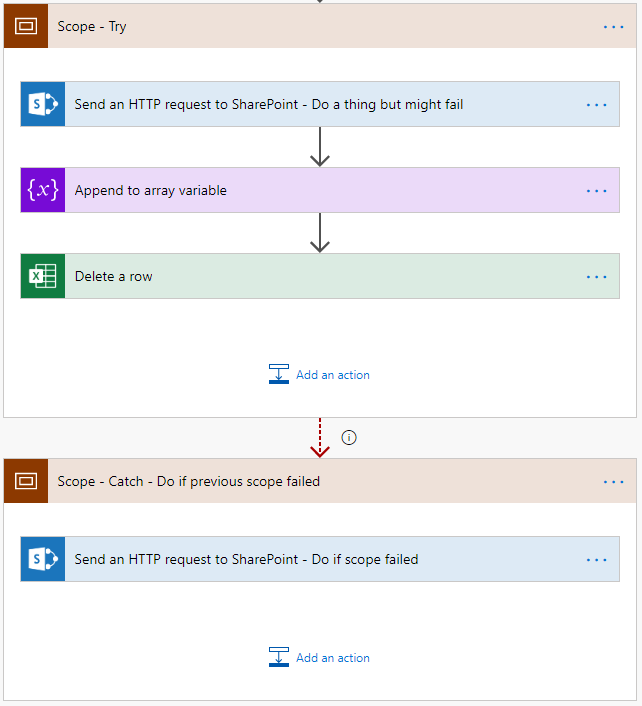
We can use the action scope to group actions to make the flow easier to read. There is however another great use for them. The scope action encapsulates a block of actions and inherit the last terminal status (Succeeded, Failed, Cancelled) of actions inside. This in combination with the Configure run after setting we can create a try and catch logic in our flows. In this example the second scope (catch) only runs if the first scope (Try) failed.
- Create a scope with some actions
- Create a second scope after the first scope
- Set the Configure run after setting of the second scope to has failed, is skipped and has timed out.

- In this scenario the catch scope will only run if the Try scoped failed.
- The flow will look like this.
Add redundant owners
If you have a flow that is used by your entire team, make sure you add a couple of co-owners. Then you will not be bothered during your vacation when the flow breaks. If you keep adding the same colleaguesas co-owners you can consider creating a security group and add the security group to the flows. Also make sure you add the co-owners to all the resources required by the flow. For example, the shared mailed that is used by the flow.
Connections
Actions use by default the connection (if required) of the creator of the flow. This is not always the best way to setup the connections. For example, if your flow updates a list you might not want to see your name as the modifier. I recommend using a dedicated account (service account) for most shared flows. The added benefit of using a dedicated account is that the flow will keep working even if you change your job.