With Microsoft Power Automate we can now create flows that start based on specific columns being updated in SharePoint! This is a feature I have been waiting on for years! The action is called Get changes for an item or a file. The action returns a boolean for each field, whether it was just changed or not. Based on this boolean you know if a field was changed.
Creating the flow
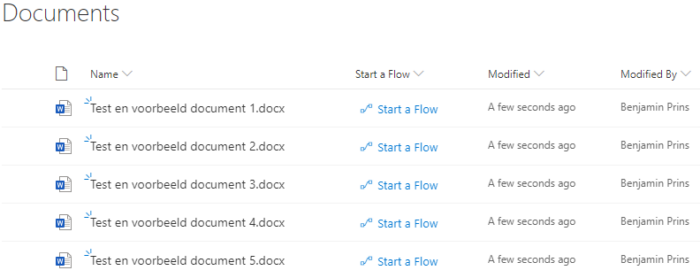
- Create a SharePoint list, I created the following project list.

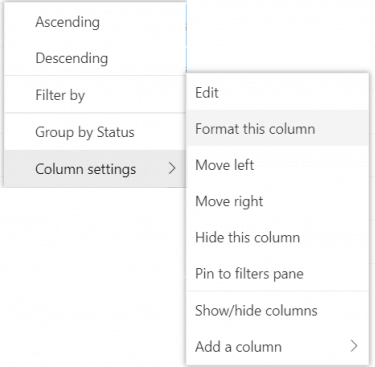
- Enable versioning on the list.
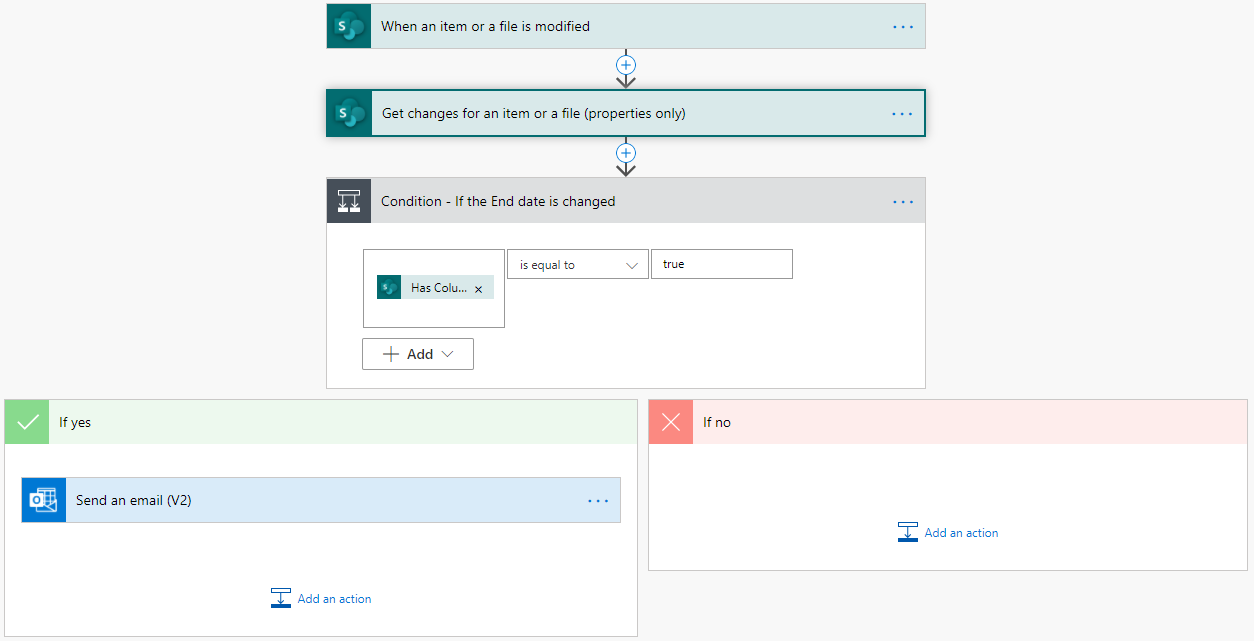
- Create a flow and use the trigger When an item or a file is modified.
- Select your site and list.

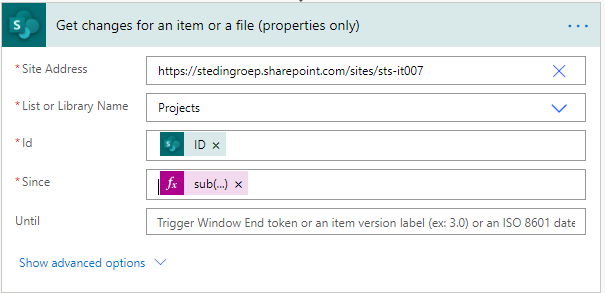
- Add the action Get changes for an item or a file (properties only).
- Fill in the site address, library name and the ID of the item that was triggered.
- The field Since is used to get the changes we need to make a comparison. If you use 1.0 you will compare the current item version with version 1.0. But we want the latest changes so we use the following expression.
sub(int(triggerOutputs()?['body/{VersionNumber}']),1)
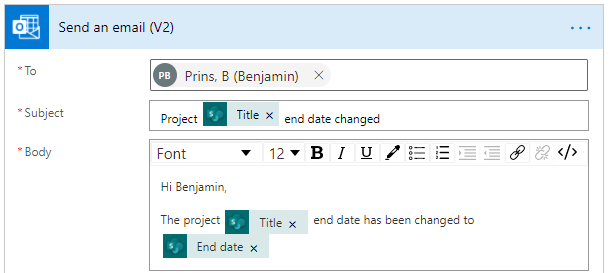
- I want to send an email when the end date of a project changes.
- Add the action Conditions to check if the end date was changed.
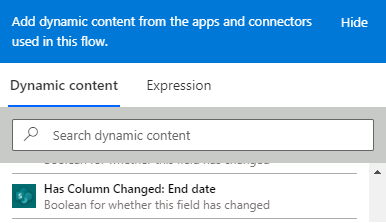
- Add the dynamic content Has Column Changed: End date.
This returns a boolean value.

- Put the required actions in the If yes section after the condition.
In my example I am sending an email. - Add the action Send an email (V2) and fill in as follows.