Power Automate is one of my favorite tools from the Power Platform. It is extremely versatile and can be used to automate tasks between online services and automate processes ranging from simple to highly complex. In this post, I will share with you 3 advanced expressions I have used recently on my project. One part of the project is to convert XML data to data we can store in the dataverse.
Convert XML to JSON for easy access
For a project I needed to read multiple XML files with millions of rows and store data from the files into the dataverse. XML is harder to use in a Flow then JSON, so with a simple expression I transformed the XML to JSON.
- Add a compose action with the name XML to JSON with the following code.
json(xml(variables('XML')))
- Change the variable(‘XML’) to your XML content or store your XML content in that variable.
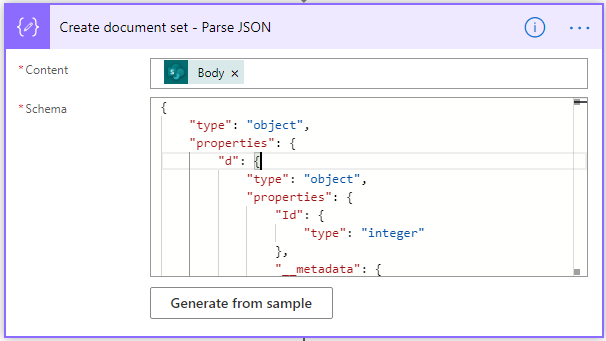
- Add a parse json action set the Content to the output of the XML to JSON compose.
- Add/create the JSON schema.

Using path in JSON
In most cases when you need to save data from JSON you can use the dynamic content to find it.
But sometimes you are looking for a field name that is not unique. In my case I needed a field called country related to the company. But the country field was used multiple times for various blocks. You can select the correct country by using the path (location) of the field in an expression.
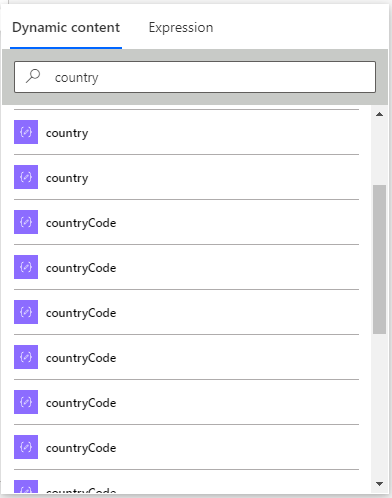
- Select the JSON through the dynamic content.
- Copy the code from the dynamic content to the Expression.
- Add the path add the end of the code.
- I added .company.country to select the country of the company.
body('Parse_JSON').company.country
Dataverse lookup field
Lookup fields in Dataverse are really useful, but when you select them through the dynamic content the value will be the id not the display value. If the data must be readable for users, you can use the following steps to select the display value.
- Add a compose to the flow.
- Select the lookup field in the Inputs through the dynamic content.

- Copy the code from the dynamic content to the Expression.
- Your output looks something like this.
outputs('company')?['body/rc_countrycode']}
- Add the @OData.Community.Display.V1.FormattedValue’ after rc_countrycode (your field name will be different).
- The end results looks like this.
outputs('company')?['body/rc_countrycode@OData.Community.Display.V1.FormattedValue']